Installing Splunk Free in a virtual machine for log analysis
Splunk is considered the gold standard for analysis of event logs and other data, but unless you’re lucky enough to work for an organisation that pays for it, it can be difficult to get practical experience in how to run searches, build dashboards, and otherwise dissect data using its query language.
Recently, when I wanted to take a look at some Backutil logs to see how recent development had affected performance, I stumbled across Splunk Free - a limited version of the logging platform - and discovered just how easy it is to install (and how surprisingly well it runs) in a virtual machine. Here’s how to do it…
Setting up a virtual machine
For the purposes of this post, I’ll assume you’re familiar with the basics of setting up a virtual machine in VirtualBox or VMware. I won’t go over the process of creating the machine, but I will point out some key steps to take to make sure Splunk works and is accessible from your host system.
First, choose your Linux distro. I went for CentOS, which is usually a safe bet to run a stable server with less of the fluff that comes with some other versions, with 8GB of RAM. Like most modern operating systems, installation is as easy as booting from the ISO and following the on-screen instructions.
One extra (but critically important) step: You’ll want to check the virtual machine’s network connection is set to Bridged Adapter. When you boot it up, configure an IP address on the same subnet as your host machine. With these settings, the guest system will behave as though it is a completely separate machine on the network as your computer. This way, once we’ve made some firewall changes, we’ll be able to access Splunk in our browser at the virtual machine’s IP address.
Downloading and installing Splunk
With our virtual machine set up, it’s time to install Splunk. Download Splunk Free for Linux (you can find it by clicking Free Splunk in the top right corner of the Splunk homepage and selecting Software Download). Either do this in your virtual machine, or do it on your host system and copy the file to your Linux machine.
To install Splunk, we need to extract splunk-x.x.x-x-Linux-x86_64.tgz to the /opt directory. The easiest way to do this is to copy it to the correct directory and run the following command.
sudo tar xvf splunk-8.1.3-63079c59e632-Linux-x86_64.tgzYou should now have a /opt/splunk folder containing the archive’s contents, which are essentially a fully-fledged Splunk installation. There’s just one more command to run to get Splunk up and running.
sudo /opt/bin/splunk/start --accept-licenseThe first time you run this file, it will launch the Splunk installer, which will give you an opportunity to set an administrator username and password before your instance is live. At this point, you should be able to access Splunk at 127.0.0.1:8000 in your virtual machine’s web browser.
Configuring the Linux firewall
But wouldn’t it be much simpler if we could access Splunk from our host system? To do that, we need to allow connections to our virtual machine on port 8000. The exact command you’ll need to run will depend on which Linux distro you chose for your virtual machine, but in CentOS it looks like this:
sudo firewall-cmd --zone=public --add-port=8000/tcp --permanentNote that this firewall rule will open your virtual machine to all connections on TCP port 8000. If you're working with more sensitive data or in a less secure/private environment, you'll probably want to be more specific - for example, by specifying a source IP address.
Now that this firewall rule has been added as a permanent rule, we need to use the reload command to refresh the live instance of the firewall with the latest ruleset.
sudo firewall-cmd --reloadThat should do the trick, but if you want to make sure that you’ve done everything correctly, use the list-all option to check that your new rule is present and correct.
sudo firewall-cmd --list-allYour output should look something like this - the important bit is that 8000/tcp is under ports.
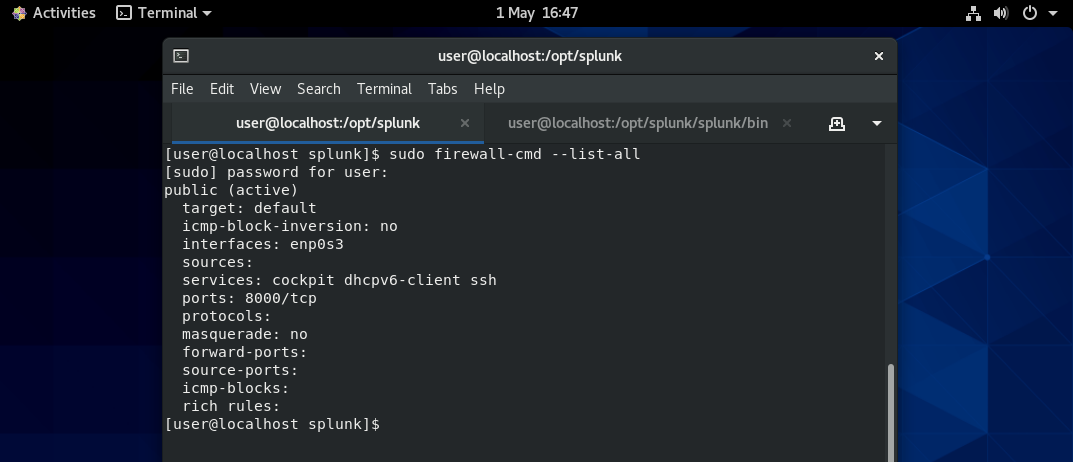
If your firewall rule has been added successfully, you’re ready to start using Splunk!
Accessing your Splunk instance
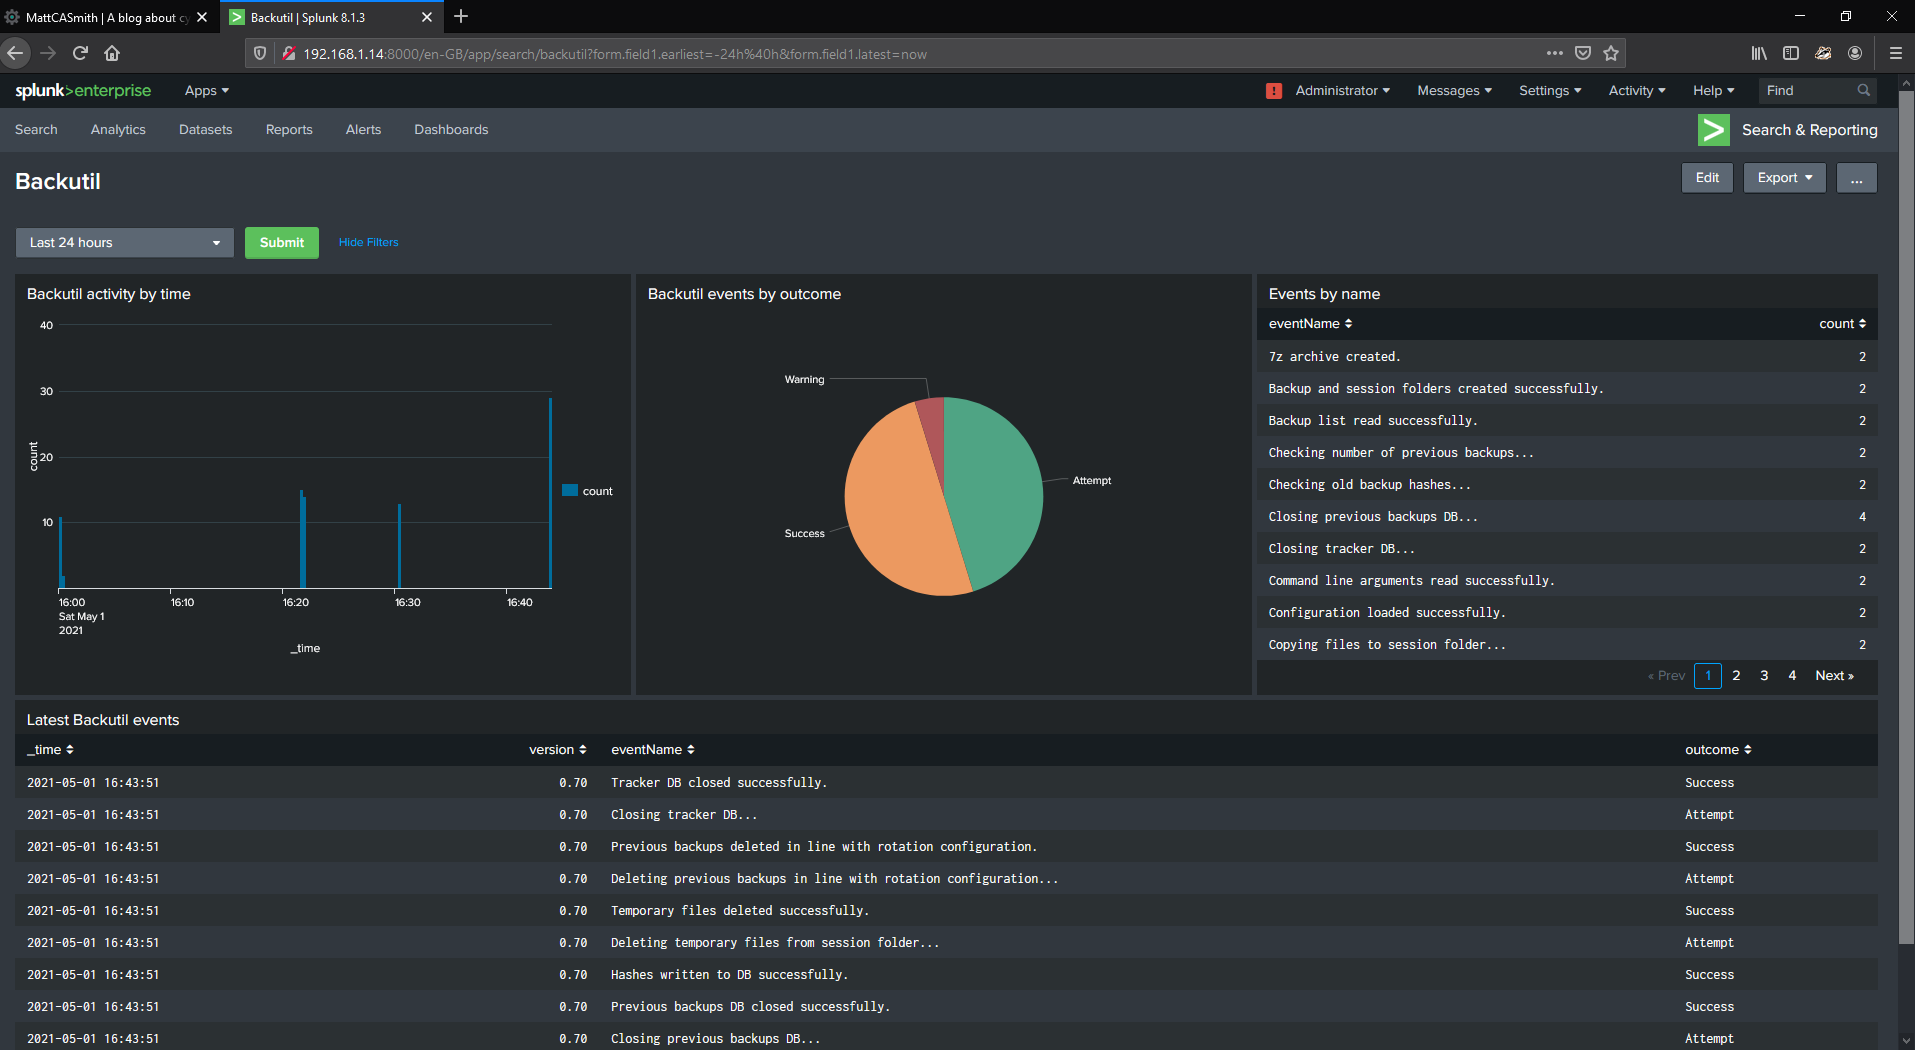
Open a web browser on your host machine and type in the IP address of your virtual machine followed by :8000. With any luck, you’ll presented with a Splunk login page. Sign in with the administrator credentials you set a little earlier and there you have it - your own Splunk instance to tinker and experiment with.
At this point, it’s probably a good idea to take a virtual machine snapshot before you start importing data or changing settings. That way, if you make any mistakes, or want to start fresh for any other reason, you can simply revert to the snapshot without doing all the setup again.
And we’re done! Obviously Splunk won’t run quite as well on a virtual machine with 8GB of RAM as it does in the cloud or on a dedicated server cluster (and it will show warning messages to remind you of this), but I’ve found it surprisingly stable when analysing small datasets and learning its features.